So here is my first step by step.

This one will be about how i painted up my table.
For the step by step i used the Games Workshop modular hill, 4 sections.
I painted it up as one big hill.
The hill took me roughly 40 minutes to paint this way.
The table exluding the skulls took me around 5-6 hours.
The hill took me roughly 40 minutes to paint this way.
The table exluding the skulls took me around 5-6 hours.
So first thing first, i basecoated the hill black. (in this case i used Vallejo primer, but any primer will do).
When this was dry i went on to airbrushing the 'sand' part of the hill.
I used Cam. Black Brown for this 71.042 Vallejo Model Air.


With that layer done i went on to the next color.
I used Khaki Brown 71.024 Vallejo Model Air for this.
I applied it in a mottled way, giving a sense of more hight differences on the model.


On to the next stage, next color i used was: Hemp 71.023 Vallejo Model Air
I applied this as a 'highlight' to the areas of the previous stage.
Don't worry to much if you run a bit out of the area's, its scenery and it gives it a more natural look if it isn't all boxed out.


For now we will leave the sand for what it is and move on to the rocks.
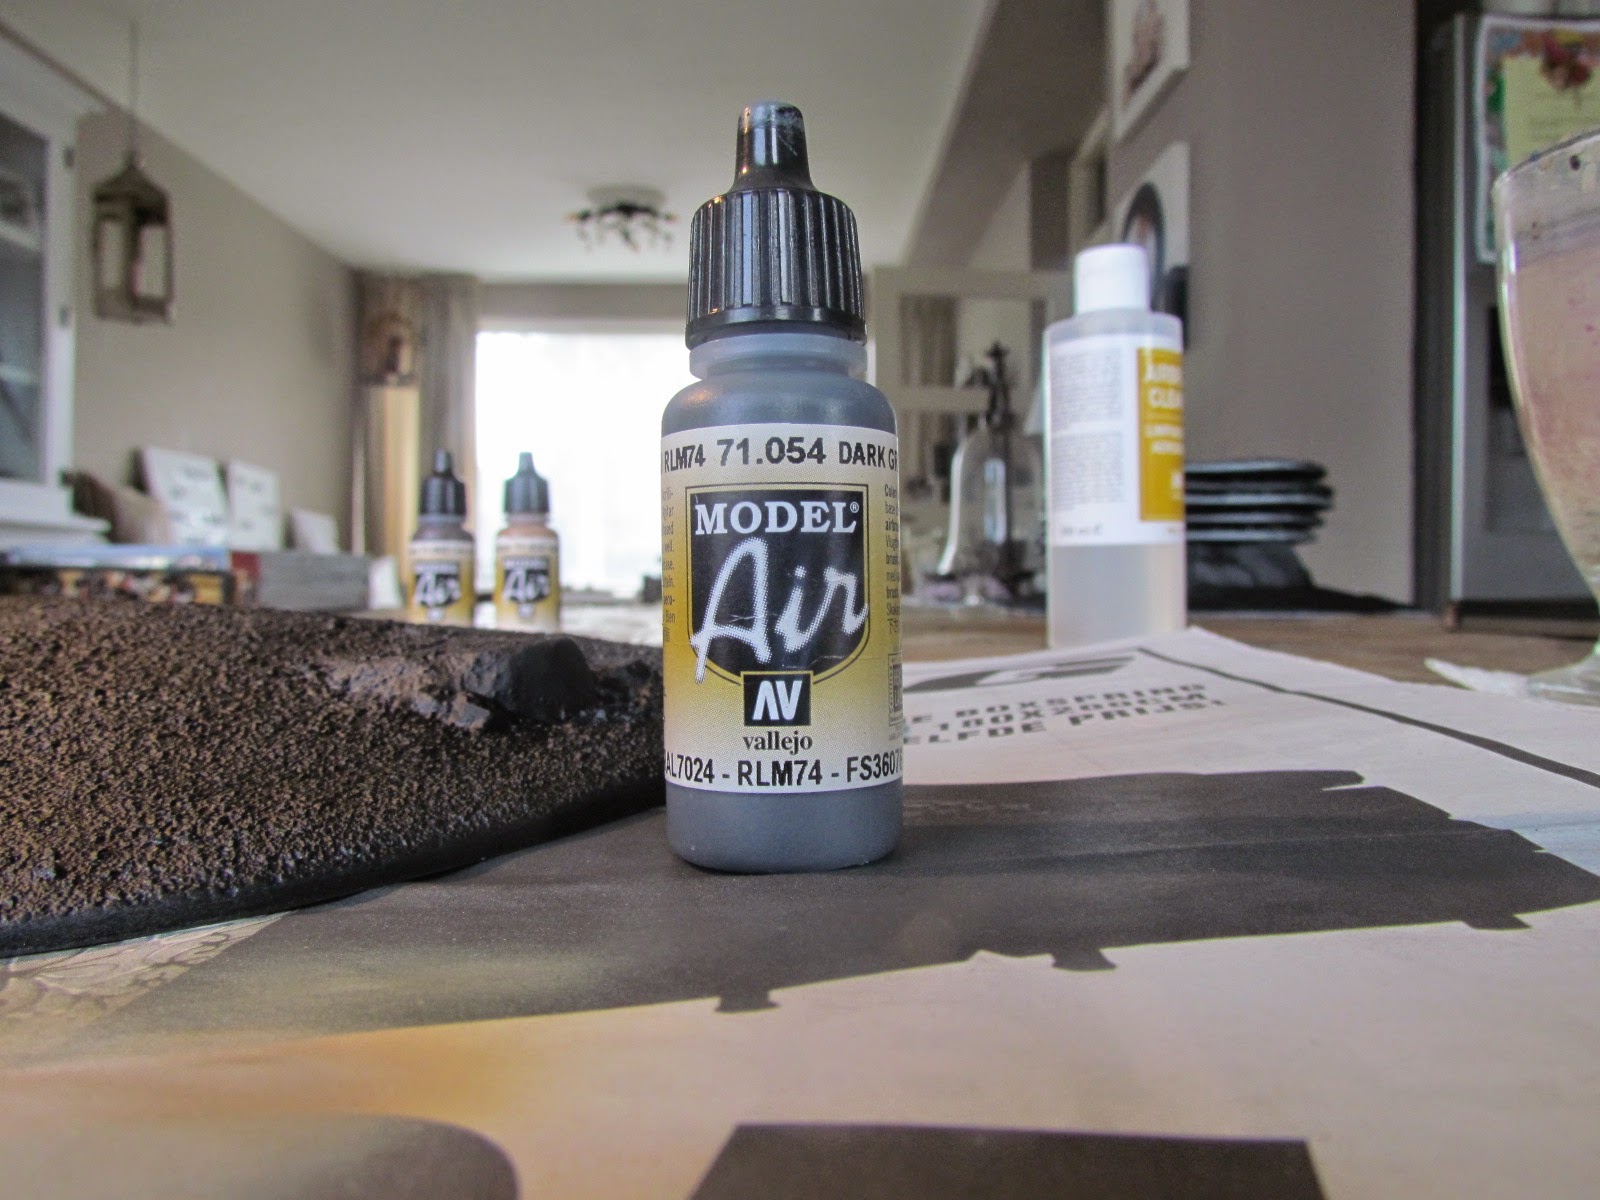
First of all i applied a base color to the rocks.
I airbrushed Dark Grey Blue 71.054 Vallejo Model Air to all rocks.

After the base color has dried i moved on to airbrush the next layer on the rocks.
I applied the next layer from the top to bottom and back, in this manner the color transition is smooth and it lights up towards the top of the rocks.
Color used: Medium Sea Grey 71.049 Vallejo Model Air


With this done i applied a highlight to the rocks.
Color used: Grey 71.103 Vallejo Model Air


The next step is to apply a wash on the sand, this consists of 2 parts Strong Tone and 1 part Dark Tone mixed with 3 parts Thinner/Water (whatever you prefer)


Now i left it to dry for a night.
Last stage in the proces is giving the rocks a wash that constist of 2 parts Dark Tone and 3 Parts of the thinner of your choice.


After 30 minutes check your scenery, if the washes are giving drylines you can wipe these away with a slightly moist brush, brushing from the rocks towards the sand.
If the black wash runs into a pool somewhere you can do the same, but for this amount i prefer to just use my finger and wipe it out nicely onto the sand.
I hope this is usefull for you people.
